✔ Premium Quality Materials
✔ Easy Returns
Diamond painting may look detailed at first, but the process is simple once you begin. This guide walks you through the basics so your first kit feels easy to start and enjoyable to finish.
Diamond painting is a creative hobby where small resin drills are placed onto a coded adhesive canvas to build a full image.
Each symbol on the canvas matches a specific drill color. You simply follow the chart, place the matching drills in the right spots, and watch the design slowly come together.
That is what makes it so beginner-friendly. No skills or crafting experience needed to enjoy it.
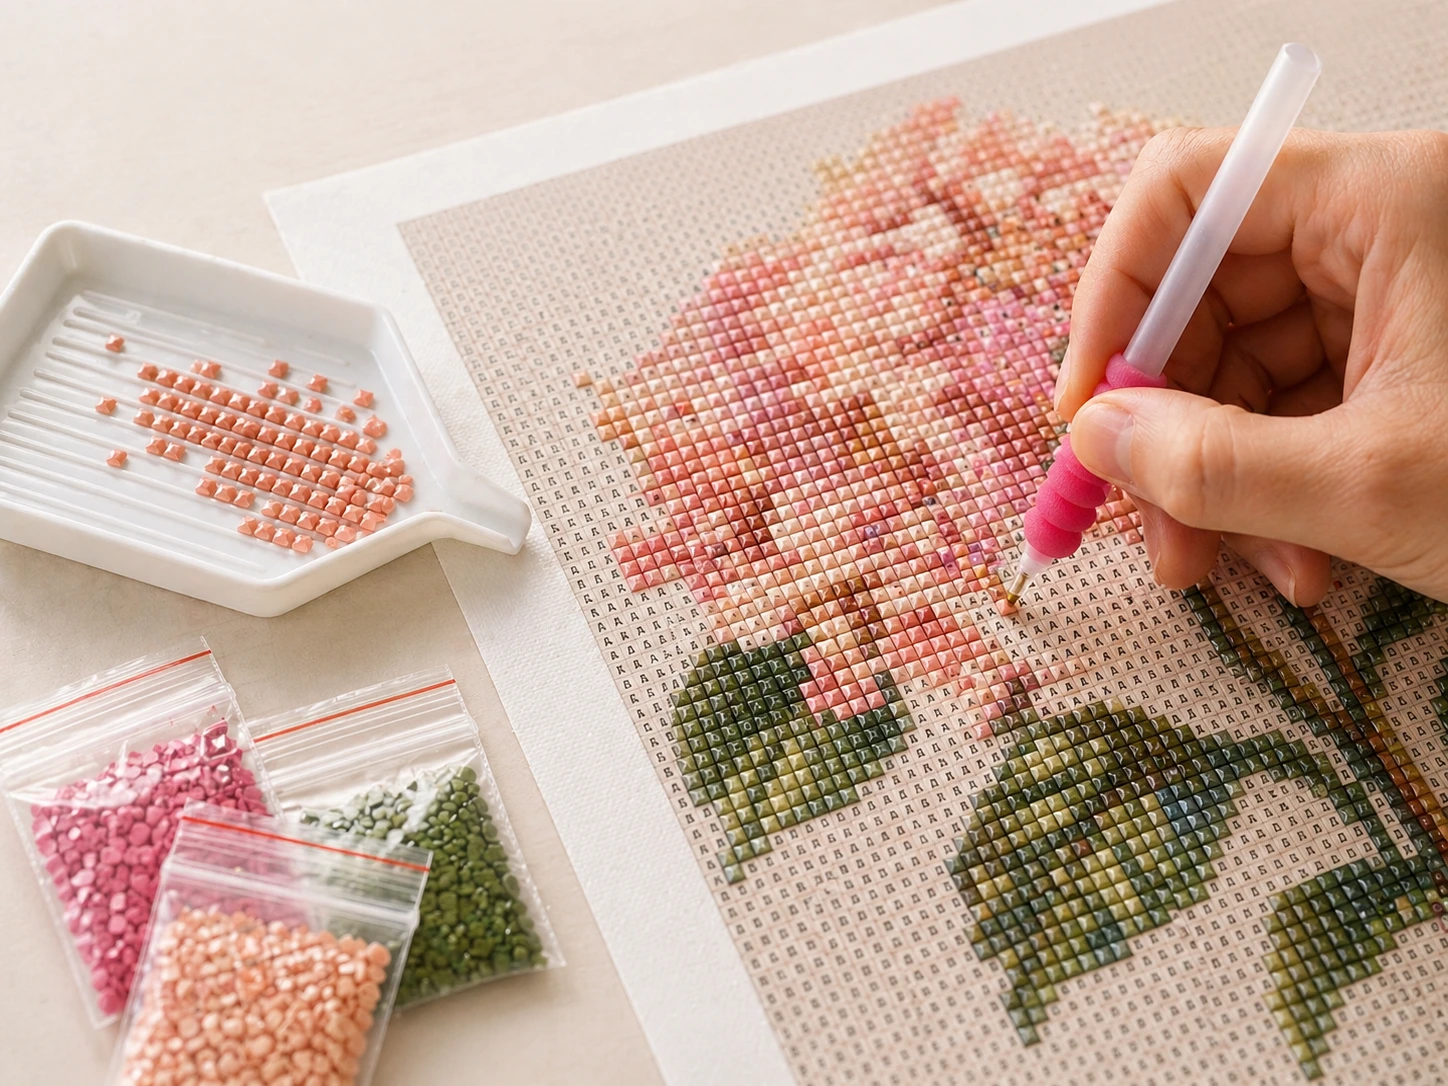
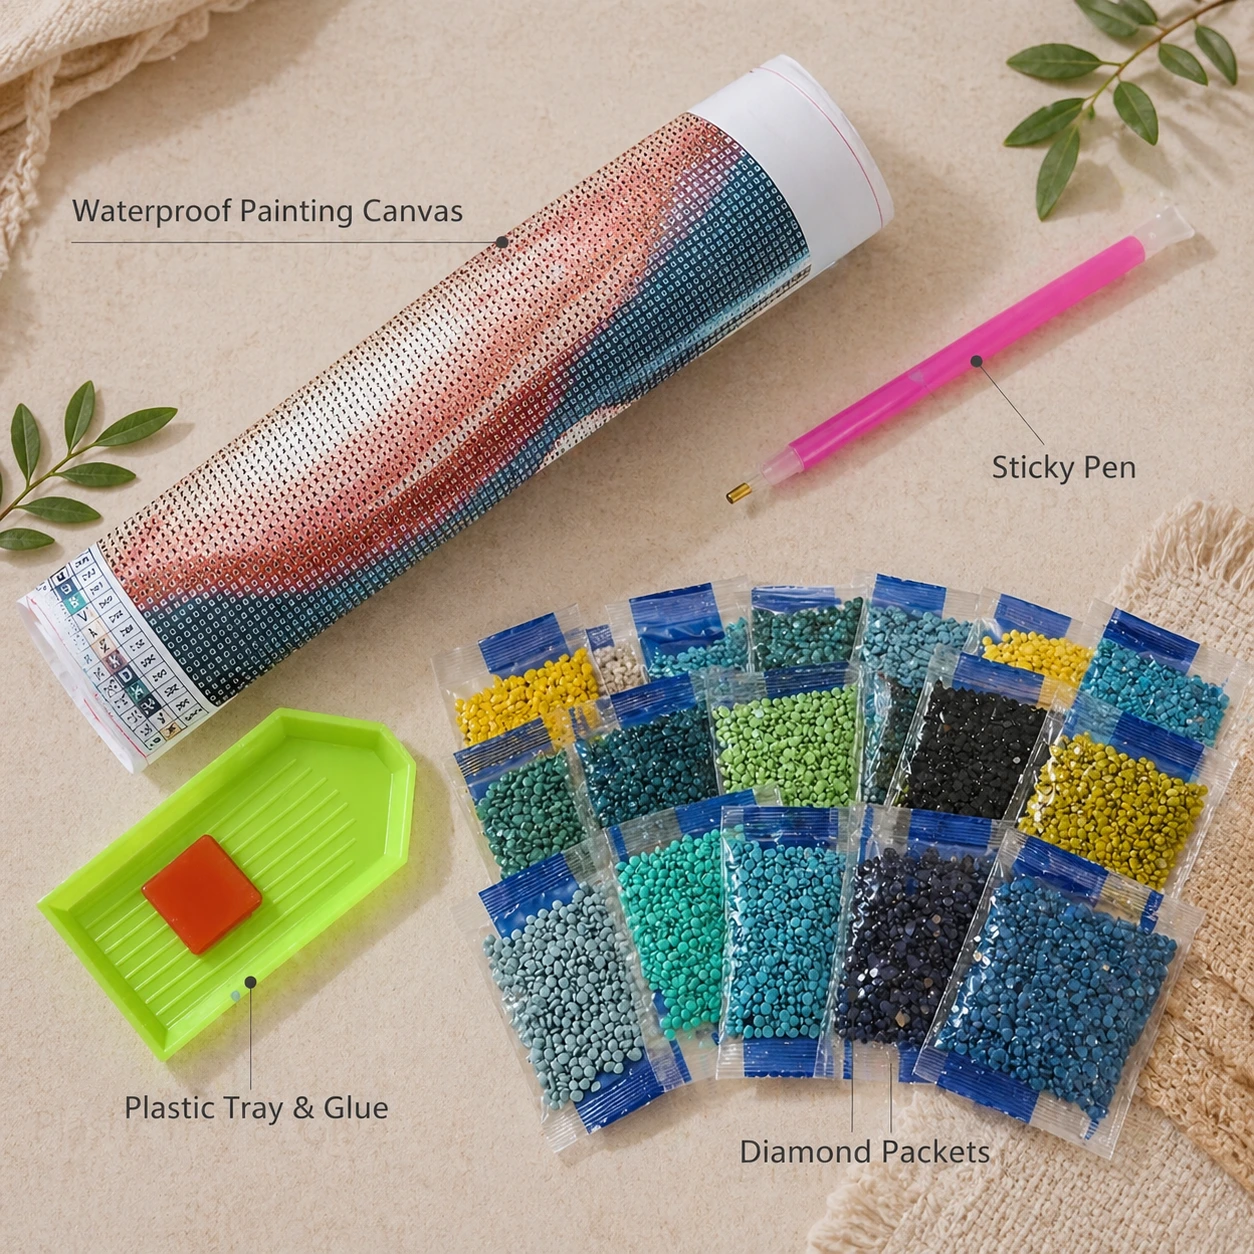
Most diamond painting kits include the essentials you need to begin.
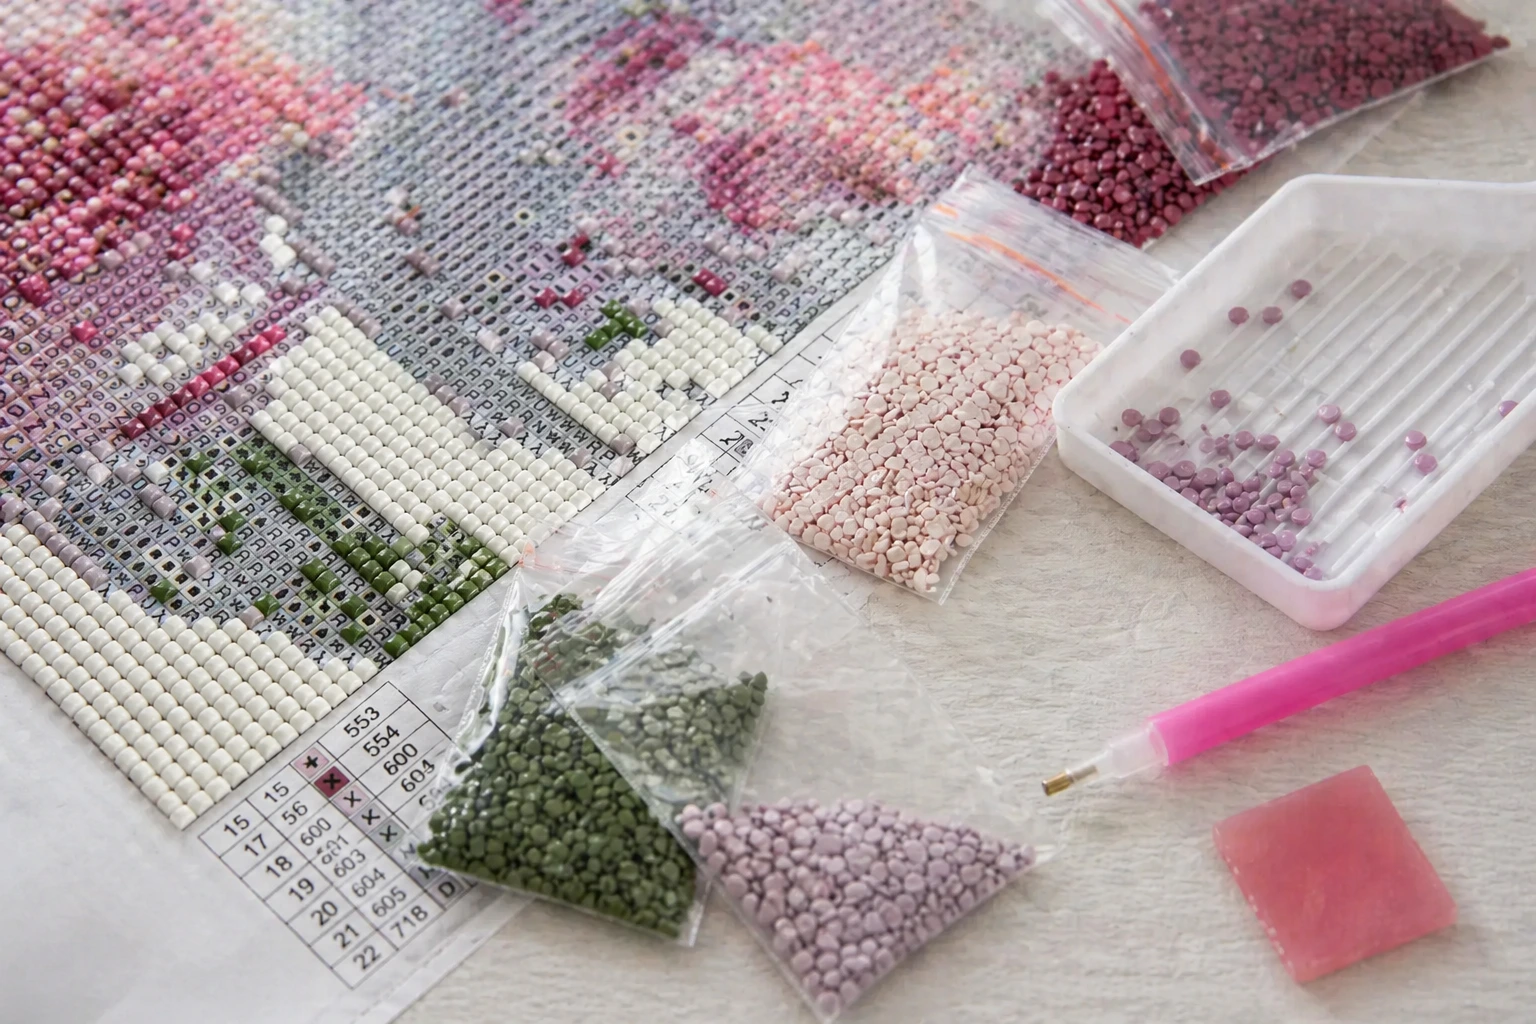
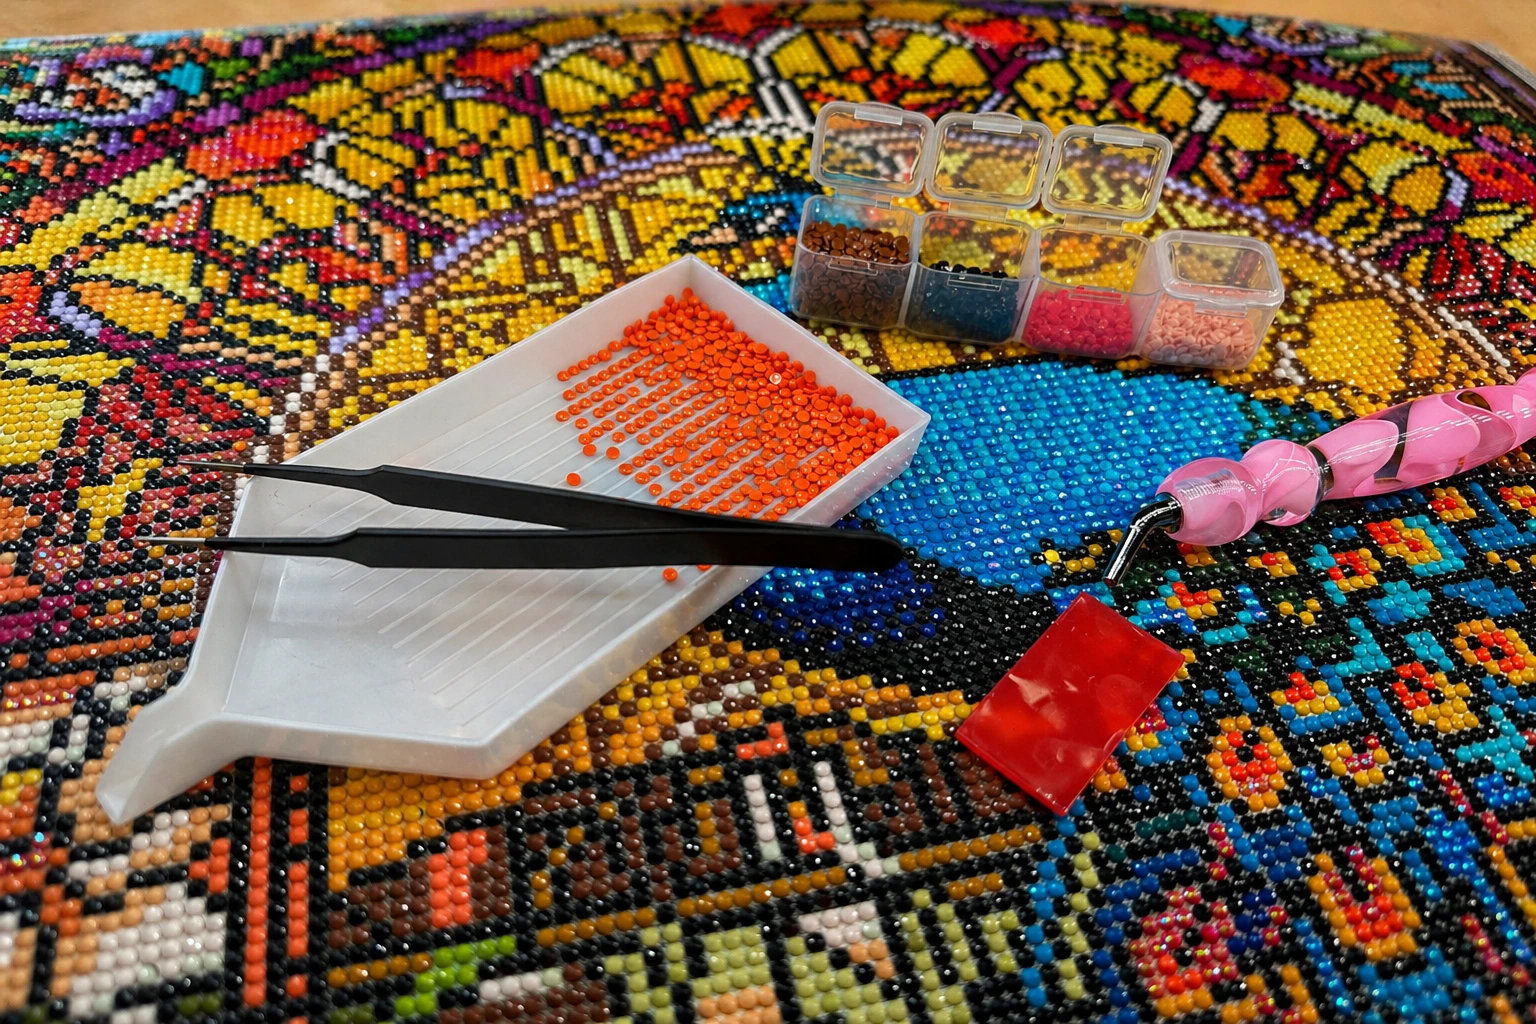
You will usually find a printed adhesive canvas, labeled drill packs, an applicator pen, wax, a tray, and a reference chart. Some kits may also include extra tools depending on the style or size.
Everything has a simple purpose, and once you see how the pieces work together, the process feels much more natural.
A little preparation makes the experience smoother from the start.
Set up on a flat surface with good lighting so the symbols are easier to read. Keep the drills nearby in a way that feels organized, and try to work in a space where the canvas can stay clean and undisturbed.
You do not need a full craft setup. A tidy table and a comfortable seat are more than enough.
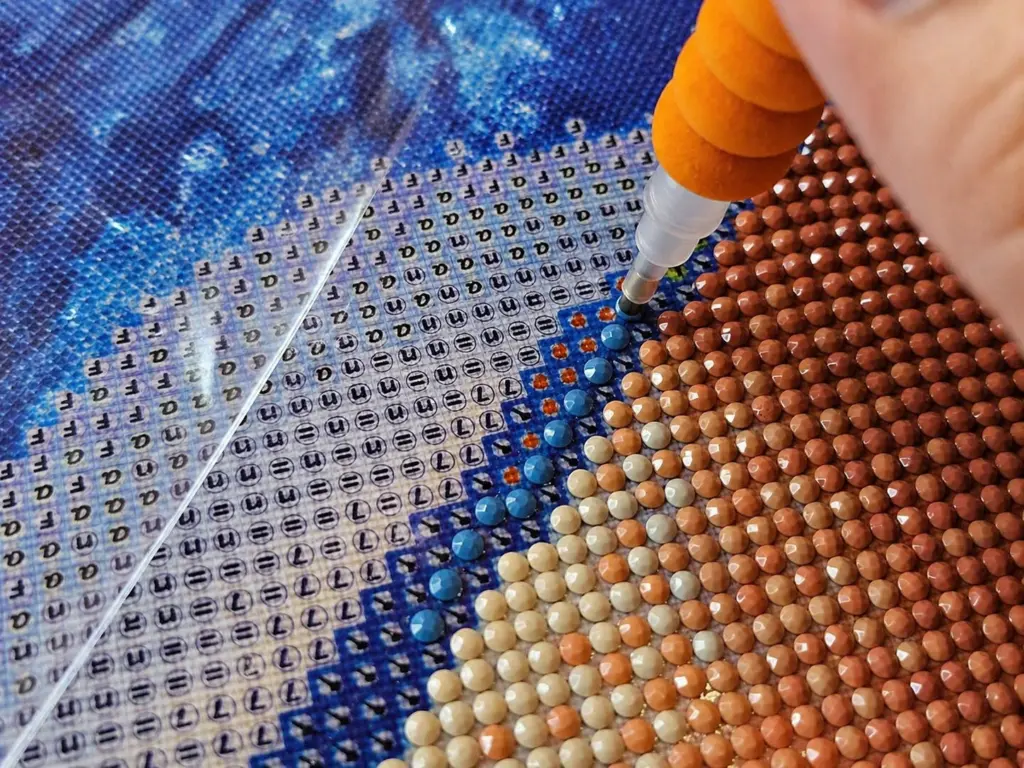
The canvas is covered with symbols, and each symbol matches a drill color.
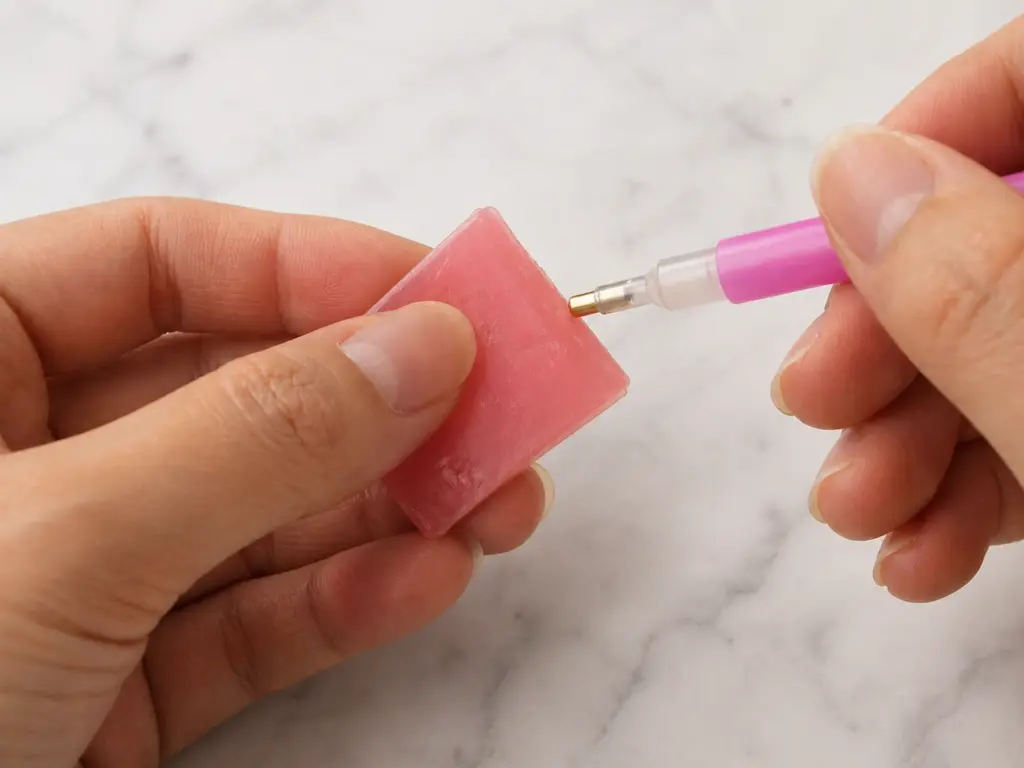
To begin, dip the applicator pen into the wax, pick up a drill, and place it onto the matching symbol on the adhesive surface. You repeat that process section by section until the image is complete.
At first it may feel a little unfamiliar, but most people get comfortable with it very quickly.
It is usually easiest to begin with a small section instead of uncovering the whole canvas at once.
Peel back only a part of the protective film, choose one symbol, and place the matching drills in that area. Working in smaller sections helps keep the adhesive clean and makes the whole project feel less overwhelming.
Once you finish one part, the process starts to feel much more natural.
Try to keep the rest of the protective film in place while you work. This helps protect the adhesive from dust, hair, and accidental contact.
It also helps to shake a small number of drills into the tray at a time instead of pouring out too many. A tidy tray is easier to work from and keeps the colors more organized.
When placing drills, focus on steady placement rather than speed. If a row looks a little uneven at first, you can usually straighten it as you go. Diamond painting tends to look better when it is done patiently, section by section.
Small issues are normal, especially at the beginning.
If you place a drill in the wrong spot, you can lift it gently and move it into the correct place. Or If the drills do not line up perfectly at first, do not worry. Many small spacing issues become less noticeable as the section fills in.
Also the adhesive picks up dust or lint, it is usually because too much of the canvas was uncovered at once. That is why working in smaller areas helps so much.
Most beginner mistakes are easy to fix, so there is no reason to feel pressured while doing it.
Diamond painting is not something you need to rush through.
Most people work on their canvas over several sessions, a little at a time. That slow rhythm is part of the appeal. You can stop whenever you want, come back later, and continue where you left off.
It is a hobby that fits around your time instead of demanding too much from it.
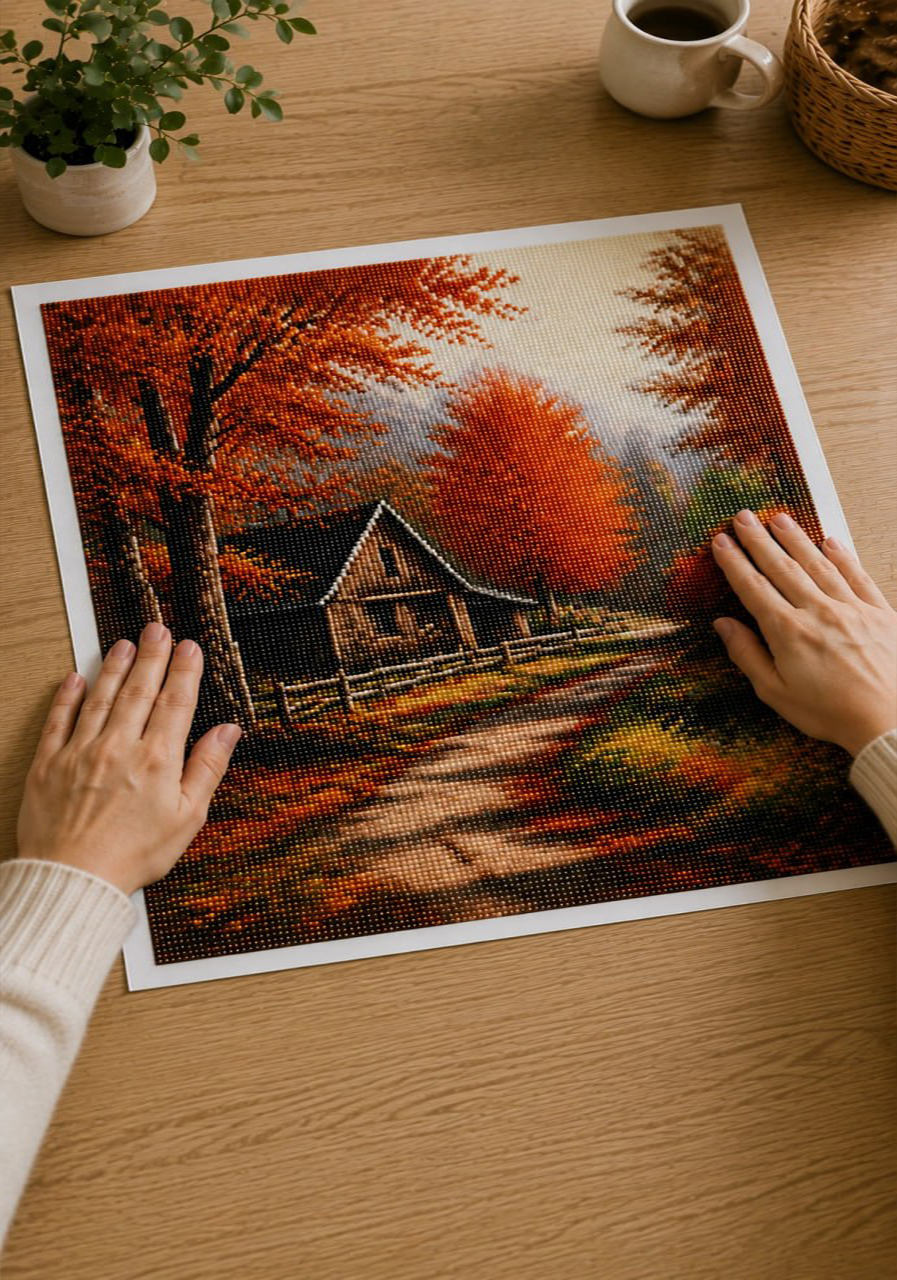
Framing a diamond painting is mostly about making sure the canvas sits flat and the drills stay protected. Before anything else, check that the surface looks even and that all the drills are pressed down properly. If the canvas still curls a little, let it rest flat first so it fits more neatly once framed.
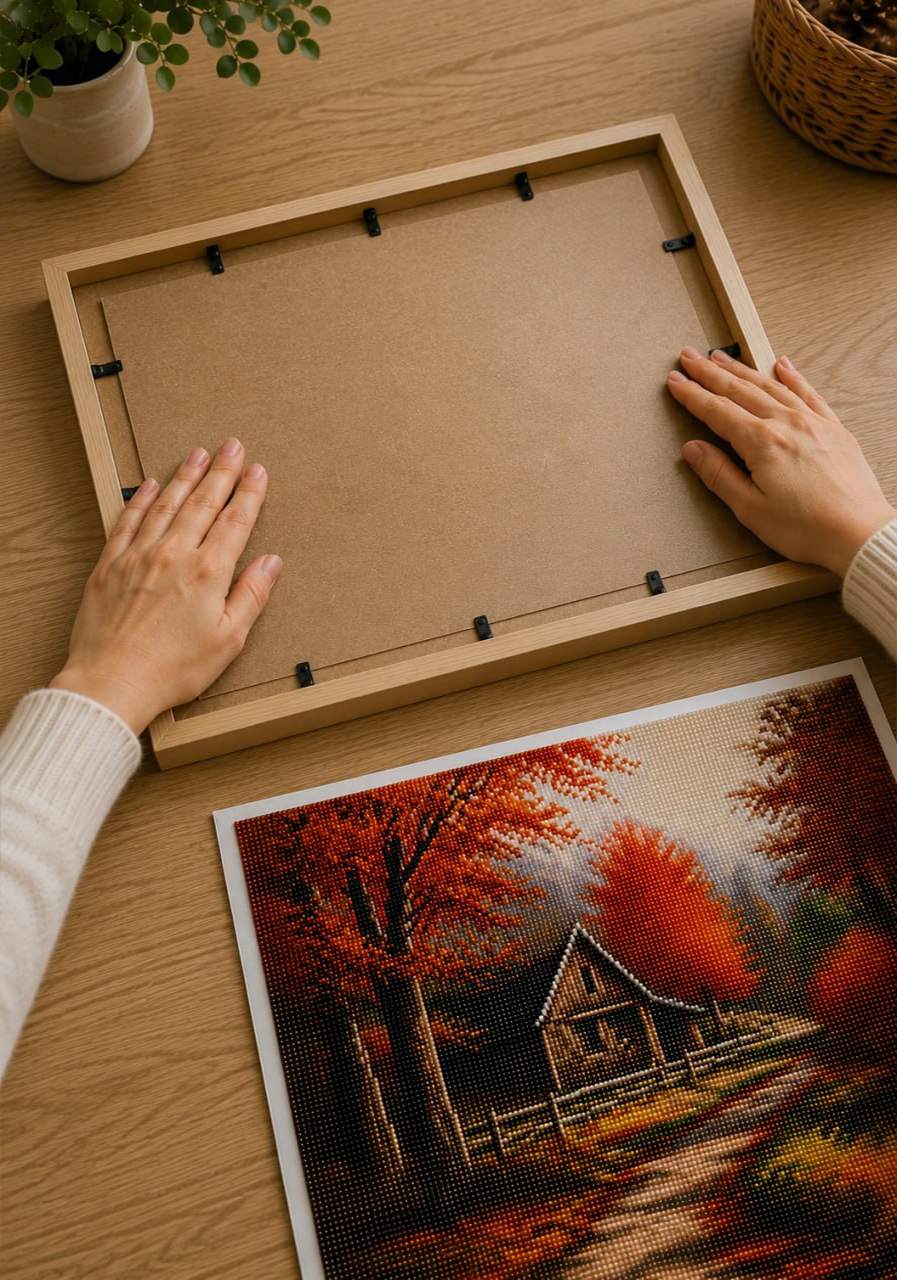
Next comes the frame itself. A frame with a bit of depth usually works better, since diamond painting has texture and should not feel too pressed. If the canvas feels too soft on its own, adding a backing board behind it can help it sit straighter and look cleaner inside the frame.
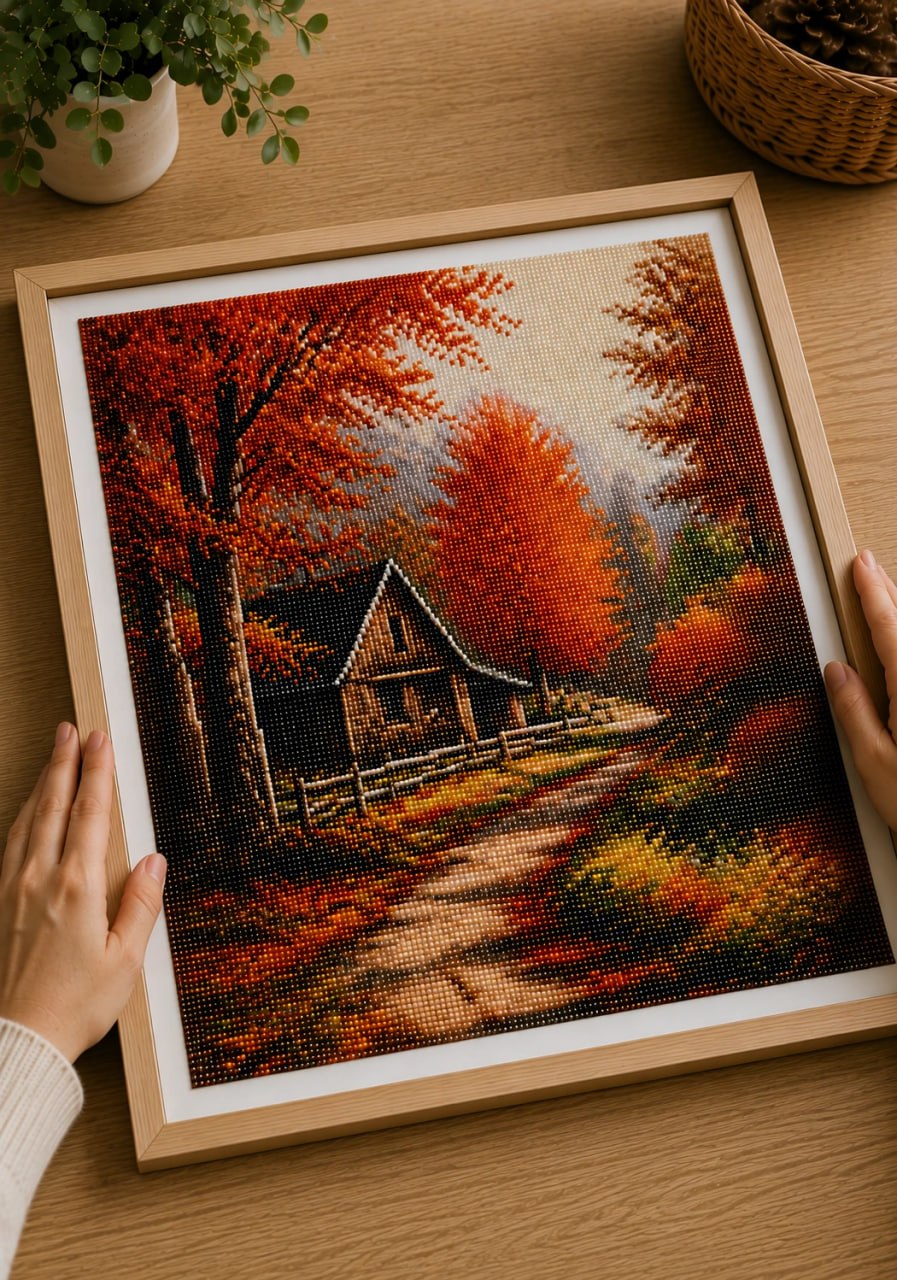
Once everything is ready, place the painting carefully into the frame and adjust it before closing it fully. That final step matters more than it seems, because a straight fit is what makes the finished piece feel polished and ready to display.
Not really. The first few minutes may feel unfamiliar, but once you place a few drills, the process becomes easy to follow.
Start with a small section of the canvas instead of peeling everything back at once. It keeps the adhesive cleaner and makes the project feel more manageable.
Lift it gently and move it to the correct symbol. Small placement mistakes are common and easy to fix.
Most kits already include the main tools, so you can begin right away. Good lighting and a clean surface are usually the only extra things that help.
Not at all. Diamond painting is usually done little by little, which is part of what makes it relaxing.
It helps to work with one color at a time or keep the drills in a simple organized setup while you paint.
Yes. Early on it can look scattered, but as more sections fill in, the image starts to come together clearly.